After my daughter purchased her own home and moved out, I had an empty room to "play" with. A blank slate, since she took her furniture with her. I knew we needed a guest room. Her room had an adjoining bath, which made for a perfect guest suite. So what to do with this blank slate. How fun!! I could make it anything I wanted, within budget restrictions, of course! That is half the fun, trying to create something with little or no budget. So the fun began. First, I needed a bed. I found one on the side of the road. It was a basic full size wood bed. Score! I knew I wanted it to be red because I fell in love with a red bed from a pin I had pinned on Pinterest. So, easy fix, I spray painted the side of the road find red. Done. I also knew I wanted the room to have a vintage/cottage chic look. What is more vintage then hankies? I began collecting hankies. I bid on some on Ebay. I bought some at thrift stores. Found some at antique shops. My sister even watched for them at thrift stores she frequents.

Knowing I had a red bed, I looked for hankies with reds in them. I also wanted the walls to be a soft Robin's egg blue, so I tried to tie that color in with the hankies as well.
So, what to do with the hankies, right? Another inspiration for the room was a picture I had seen in a magazine that used hankies for window treatments. While I didn't want them as window treatments, I liked the idea of using them in an unconventional way. So I decided to make a duvet cover out of them. I purchased 2 full size white flat sheets from Walmart. I used one for the top of the duvet and one for the underside.
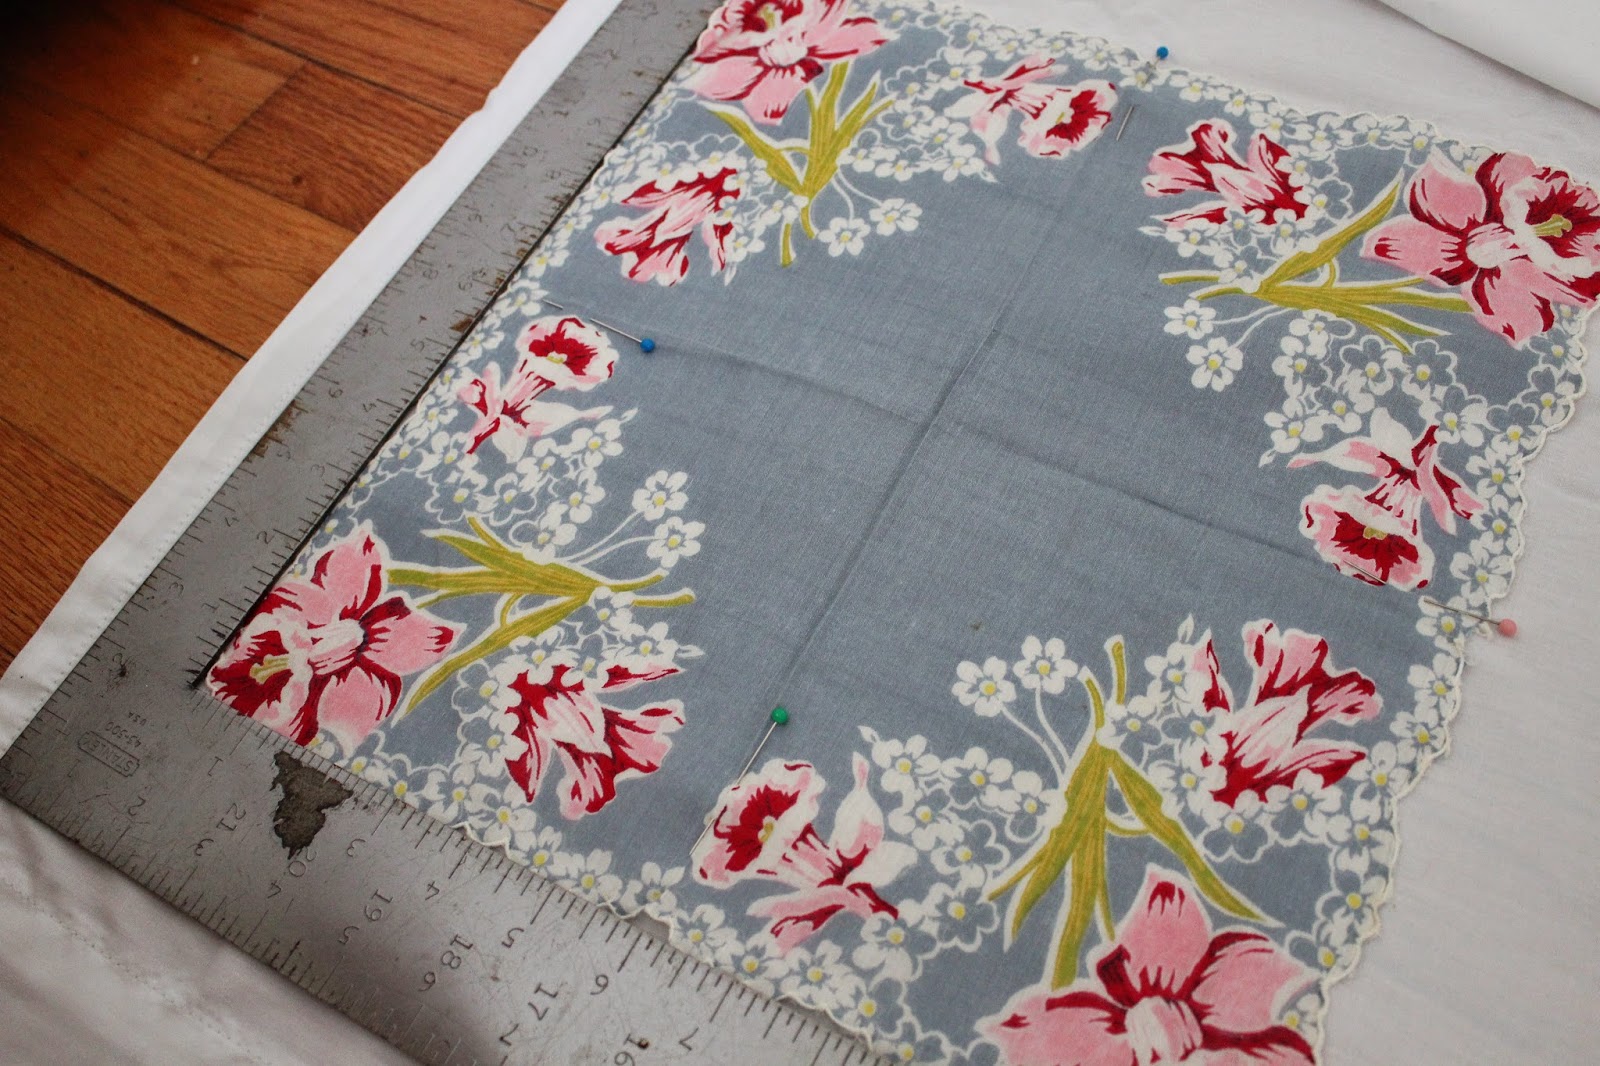
First, I layed the hankies out on the "top" sheet, playing with the mix of colors and the way the hankies worked with each other. I wanted the red and blue to be evenly spread around the duvet. I also had favorite hankies that I wanted to be in the center, so as to be noticed. After they were arranged, I began measuring and placing them evenly on the sheet.
After pinning them in place, I began stitching them in place using a simple straight stitch, being careful not to lose any pins or shift the unsewn hankies from their position.
Once I had all the hankies sewn on the top sheet, I sewed the 2 sheets together, right sides together, on three sides. I kept the bottom of the duvet open and attached buttons and made button hole closures for that end. After pressing it out, I was ready to insert the down comforter (also purchased from a thrift store) and put it on the bed.
I added some vintage embroidered pillow cases and made some simple shams out of left over pink rosette fabric I had on hand. I made a lumbar pillow out of a scrap of Kath Kidston fabric I had on hand, and the bed was complete.
I used an old dry sink I already had for the night stand. I just put a fresh coat of white paint on it, and it was good to go. I positioned a couple left over hankies for a "dresser scarf".
Now, for added storage. I really had my heart set on putting open storage of some sort in the room to display folded towels, washcloths, toiletries, etc. I didn't have one I wasn't using, so I began my search. I looked in antique stores and thrift stores. I found one in a local thrift store for $89.
It wasn't exactly the look I was going for, but I was hopeful that paint would do a miracle on this 70's left over.
A bit of white paint, a little distressing, new knobs purchased 50% off at Hobby Lobby, and it was a functional storage piece. I painted the back of the cabinet yellow, so the items inside would stand out a bit more.
The last element for the room was a place for guests to sit. A little chair where they could read, or relax at the end of the day. Or just to sit in while they put their shoes on.
Guess what else I found on the side of the road? I kid you not! Ugly... YES!!! But I painted the legs a light Robin's egg blue and using left over fabric from a previous project, I slip covered the sad little cast away.
The yellow rug was left behind by my daughter. I thought it added a bit of whimsy and texture to the space. It tied the yellow that I used in the hutch into the space as well.
The shears on the windows were clearance finds from Target. I got them for less then $2 a panel.
The mattress was the biggest ticket item in the room. If not for that, I would have completed the room for less than $200.